Video Recording Guide
A Step-By-Step Guide to recording a quality video.
Devices
Determine which of your devices you will use for videotaping and which device you will use to listen to your guide track via headphones. Do a quick video test on each device to determine which one has better video quality. The newer phones/ipads are likely to have better video quality than an older laptop, but experiment to be sure. You will use the device with the best camera for videotaping your performance, and the other device for listening to your guide track through your earbuds or headphones without introducing that sound into the room. Check to make sure the sound from your headphones does not bleed. We don't want to hear the guide track on the video.
Determine which of your devices you will use for videotaping and which device you will use to listen to your guide track via headphones. Do a quick video test on each device to determine which one has better video quality. The newer phones/ipads are likely to have better video quality than an older laptop, but experiment to be sure. You will use the device with the best camera for videotaping your performance, and the other device for listening to your guide track through your earbuds or headphones without introducing that sound into the room. Check to make sure the sound from your headphones does not bleed. We don't want to hear the guide track on the video.
|
Sound
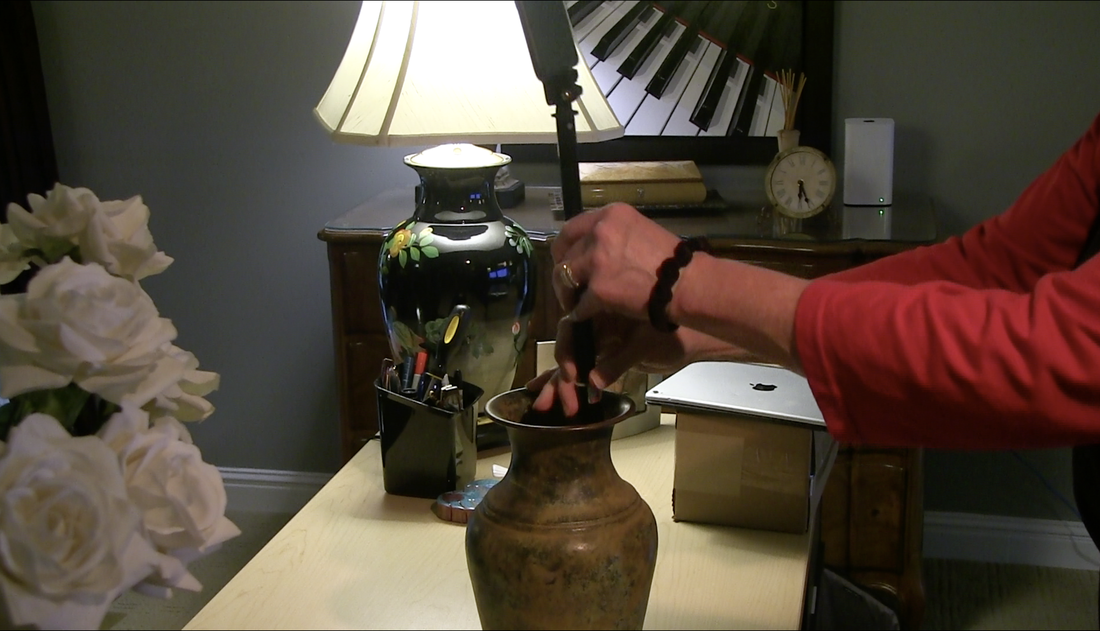
Use an external mic, like a blue snowball, if you have one. Many ear buds have built-in mics in the cable. Check to see if you have a pair like that. An external mic will give you better audio quality. If you don’t have an external mic, that’s okay, but position yourself close to your phone or laptop so it picks up your voice and not background noise, Do a quick audio test. Record yourself singing, and listen back to the video to hear if the room sounds echoey. If it does, find some pillows or blankets to line the walls. They will serve as make-shift acoustic panels.
|


|
Location
Before you record, check your recording environment.
Consider the room acoustics of where you will record. Don’t record in a small room with a lot of reflective surfaces (like a bathroom). The sound will bounce everywhere. Instead, choose a larger room with furniture, carpet, curtains, wall coverings. These coverings will absorb the sound and allow for a cleaner vocal.
Eliminate all the background round noise you possibly can. Close doors and windows, turn off the TV, fans, and unrelated music, wait until the construction crew outside your window stops jackhammering. Inform your family that you will need a quiet zone during the time you are recording. .
Be aware of the visual background. Remove any distracting items like cords, garbage cans, dirty socks, etc. It is best if the background is as neutral as possible. You want the focus to be on you, not on the cool poster on the wall or your bedspread. If your bedroom is your only option for recording, that’s okay, just do your best to create a neutral environment. Make your bed, etc. It is best if you do not record on your bed. Set up a space in front of it.
Decide whether you will stand or sit. It is best if you can stand to allow for good breathe control. If you must sit, be sure to sit tall so you may breathe properly.
|
Natural Light
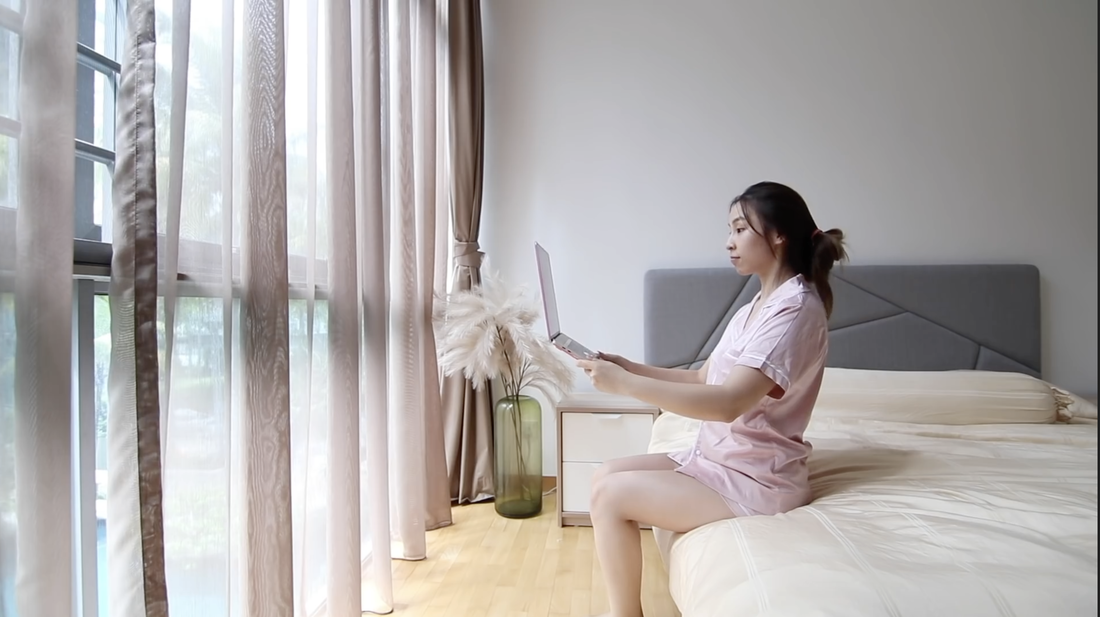
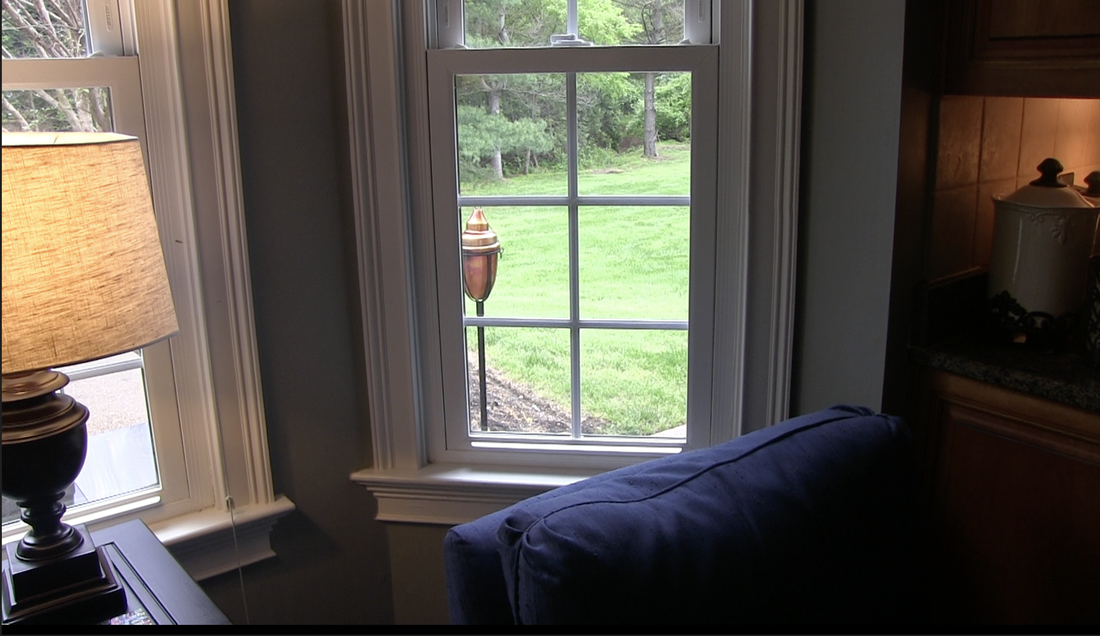
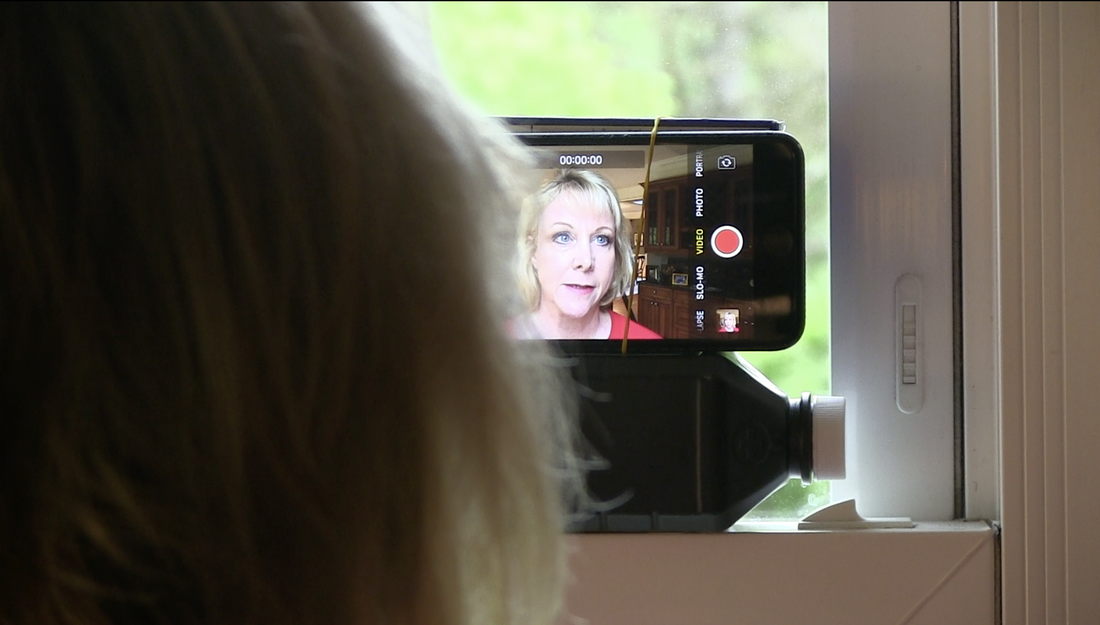
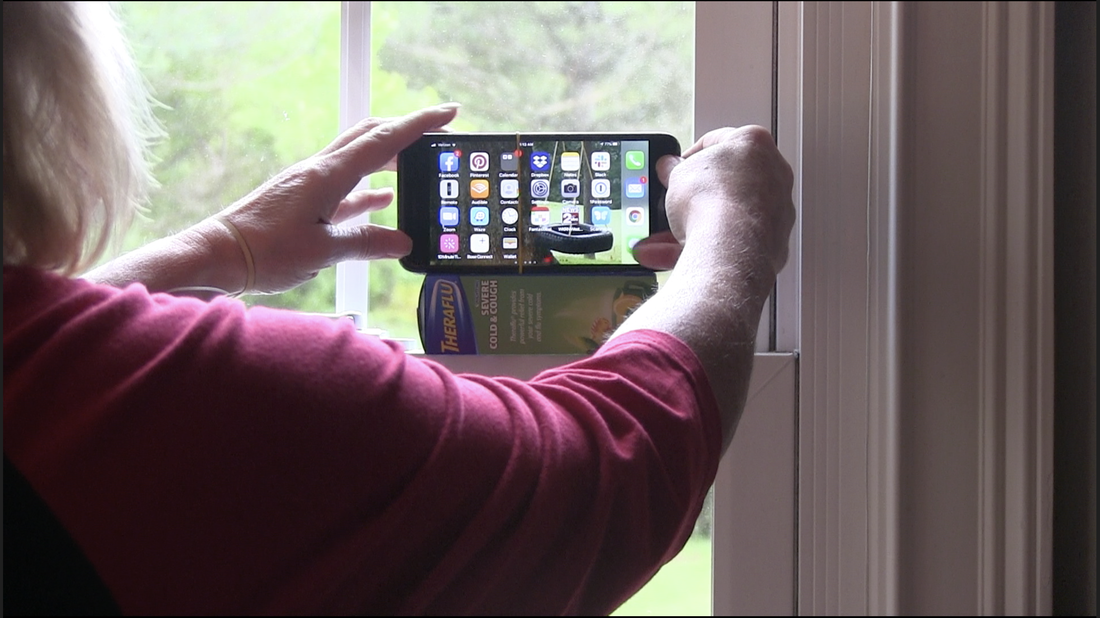
Select a spot that gives you the best natural light. Natural light (like light coming from a window) is the most beautiful light available outside a professional studio. The sunlight should cast a soft light. It shouldn’t make you want to squint. If it does, experiment by closing the blinds or sheers. Try to find a tall window, where the divider between the two windows is near eye level. Set you phone on the ledge of the bottom window. If the ledge is narrow, secure it to the window with a piece of masking tape, or find something with a flat edge (like the bottle of hydrogen peroxide below), snap a rubberband around the bottle and your phone for instant support at a 90 degree angle.. |
|
|
|
|
Find a tall window and place your phone on the ledge for good natural lighting and camera at eye level.
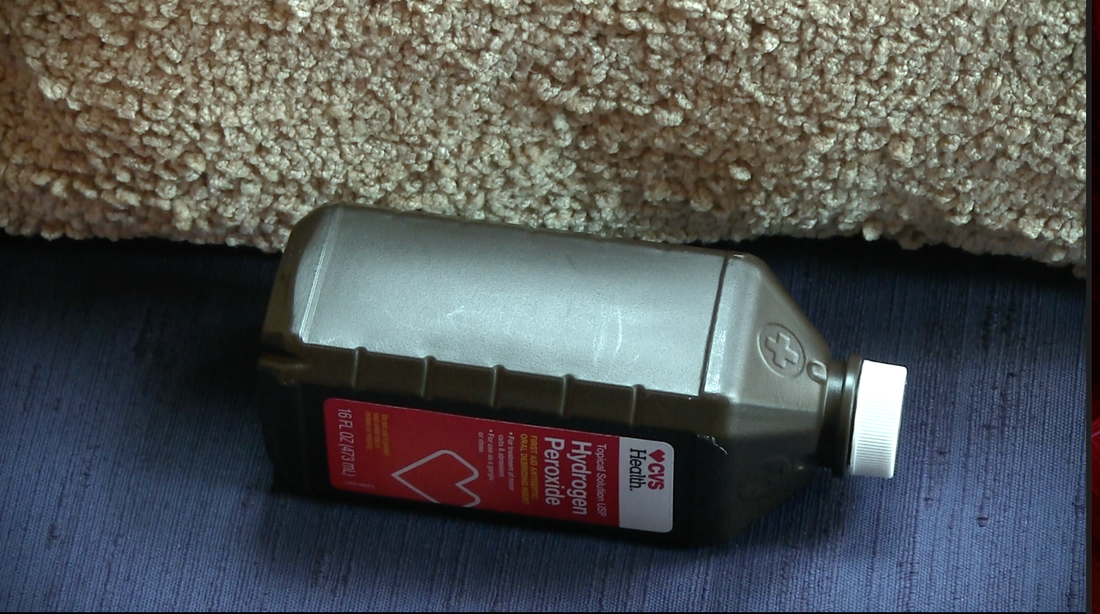
To support your phone, find an object (I used a bottle of Hydrogen Peroxide) with a flat side that is not higher than your phone.
|

Snap a rubberband or hairband around your phone and the found object for instant support at a 90 degree angle.
|

Another example.
|
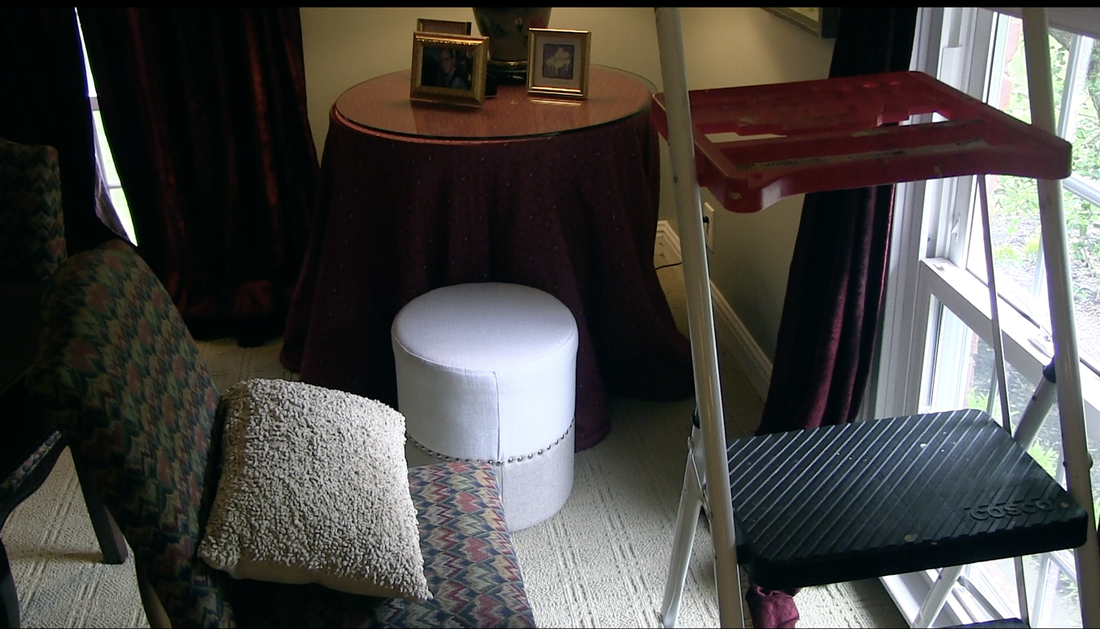
Or you may use ladder or table and place near a window.
|

Place your camera in an upright position on one of the ladder steps or on top of the table.
|
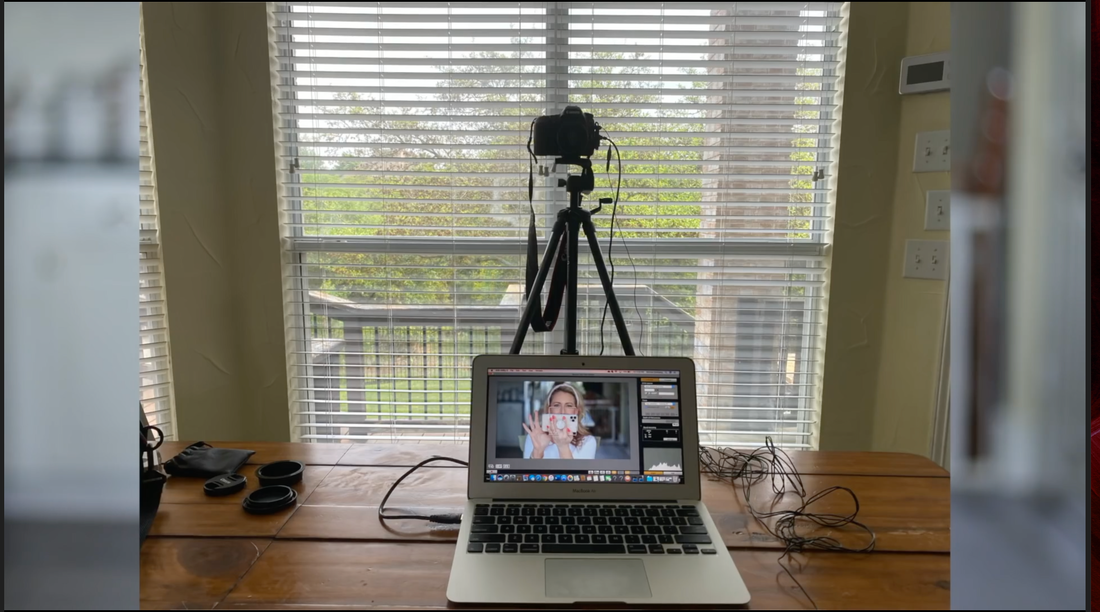
You may also place your camera on a table in front of a window. Note that the laptop is not being used for the camera. The camera is on a tripod so that it is at the correct height.
|
No.
|
No.
|
No.
|
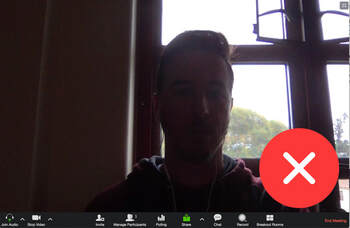
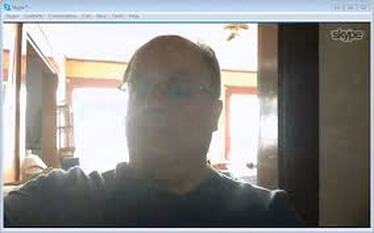
Avoid Backlighting and bright overhead lights. DO NOT stand or sit with your back to a window or lamp. This will put your entire face in shadow. Turn off or dim overhead lights, lamps, etc. if they cast light on your back. All the light should be pointing toward your face.
Decide what time of day you will record. The natural light from the window where you choose to record may change intensity, depending on whether it is morning or afternoon. Experiment with what looks the best.
|
IF YOU DON’T HAVE NATURAL LIGHT
Place a lamp with a day-light bulb behind your recording camera device. A lamp with a shade is better than the lamp shown in this picture. If your Smart TV has the YouTube app, search for “White Screen.” Play the video and your TV becomes a light source. |

|
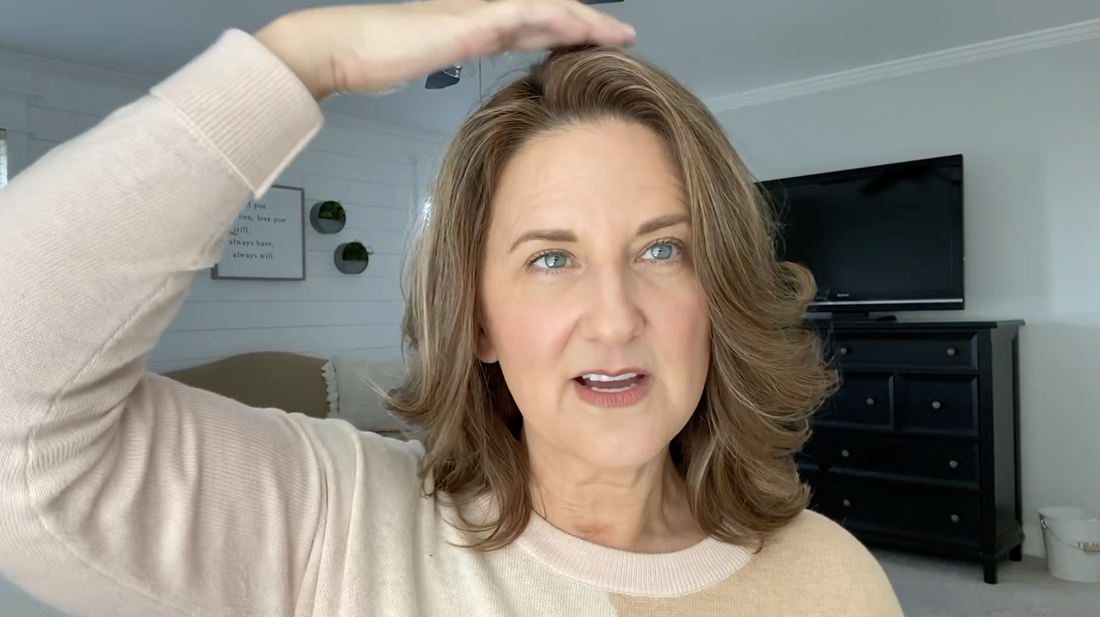
Camera Angle

The camera should be higher than your eyes, at about your hairline. Find the lens on your camera and be sure you are directly across from it.
|

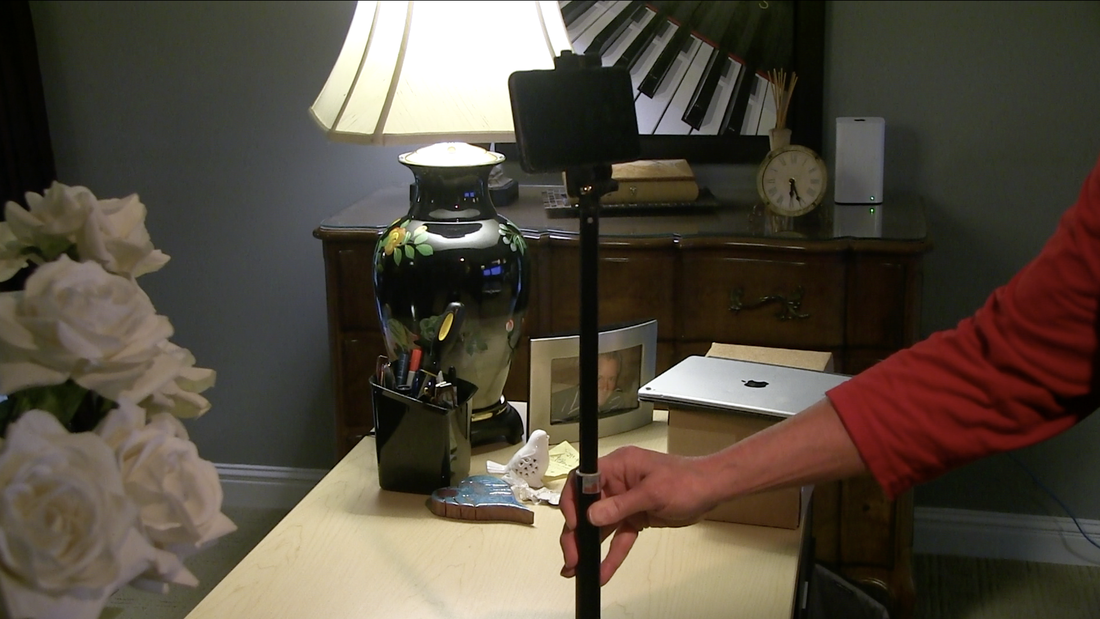
If you are standing, try using a ladder or a tripod to raise your camera up to your hairline.. This idea works well because you can easily move the ladder around to get the best natural light on your face.
|
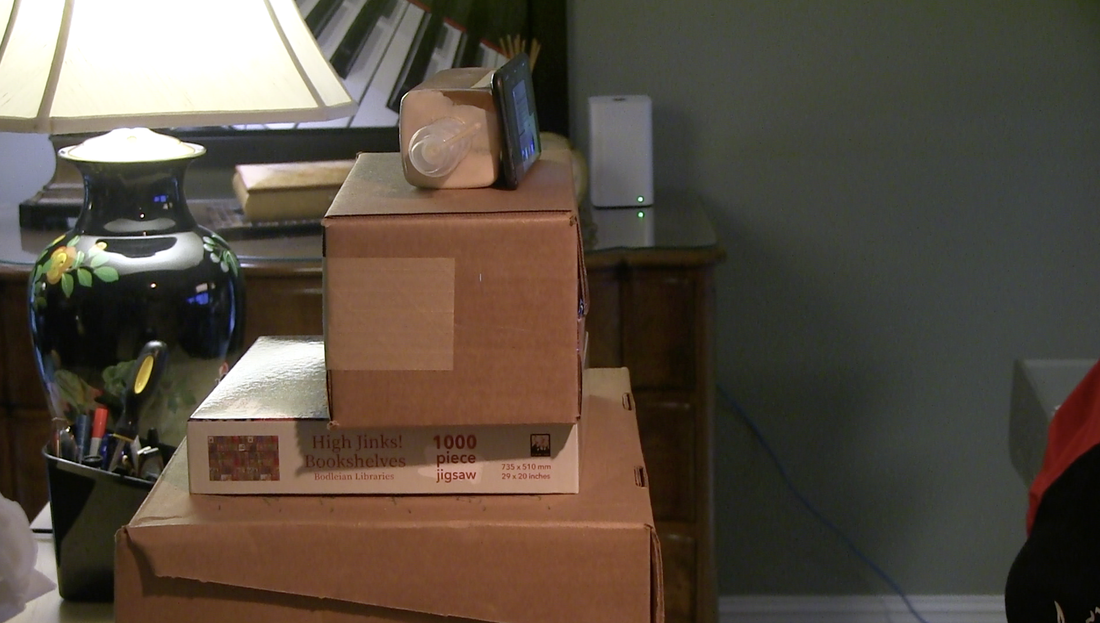
If you use a table or a desk, raise your laptop or phone to eye level with boxes, books or games.
|
|
|
|
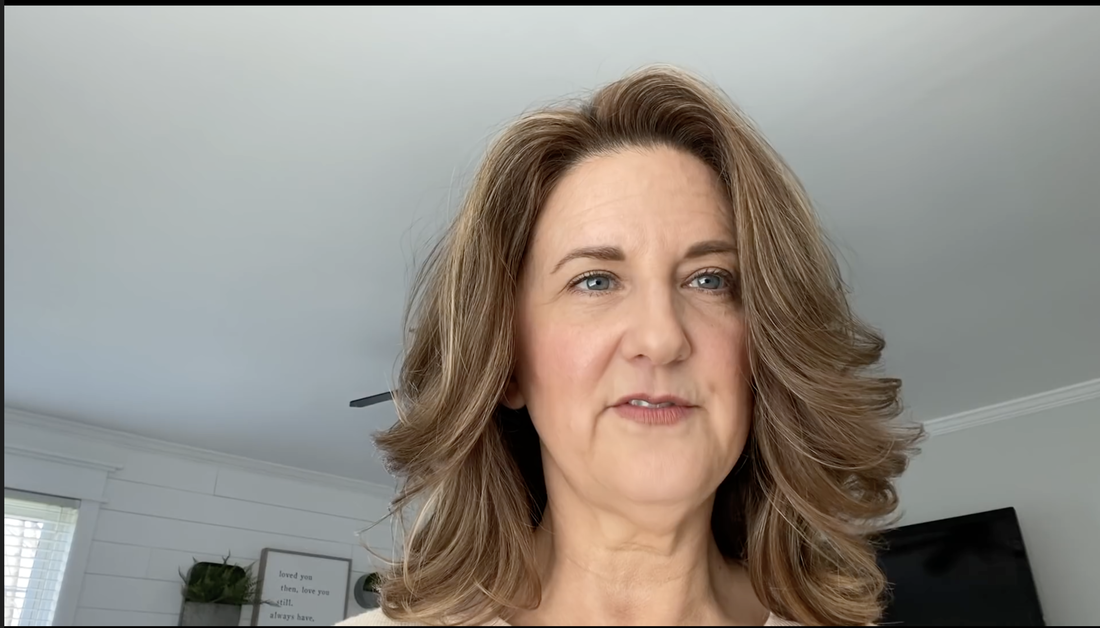
Framing your shot
Make sure you are centered in the frame, with a little head room at the top, with your eyes in the top third of the screen, and
Take a screen shot of your set-up. If you can see the ceiling in your frame, your camera is too low. The camera should be at eye-level or slightly higher (about at the hairline).
This shot is too close to the camera.
|

This shot has too much head room. Your eyes should be in the top third of the screen.
There should be a couple of inches of head room in your shoot. Don't cut off the top of your head.
|
Don't look down at the camera.
This is the correct framing. Be at a distance from the camera that allows your face to take up at least this amount of space. We want everyone to be as close to this as possible.
|

|
Distance Be sure there is at least three feet between you and wall that may be behind you. If you are close to a window, this won’t be a problem. But if a wall is behind you, put some distance between you and the wall. You don’t want to look plastered against the wall. Be close enough to the camera to make you head take up a good portion of the screen. We want to see your facial expressions! |
Clothing/Hair/Make-up
Wear brightly colored shirts. Solids are best, but prints are okay, as long as they are small.. Make sure that you are in dress code from the waist up. You may wear jeans or sweat pants because we won’t see them in the frame. No logos, sweatshirts or hoodies. We want to be able to focus on you and your music, not your outfit.
If you wear make-up, it should be natural looking and understated. We want you to look like YOU! It doesn’t need to be a lot, but enough to bring out your best features. We want to notice your eyes and your lips, and you want some color on your face so you don’t look washed out; however, this is not the place for false eyelashes, red lips, or big smokey eye. Save that for the stage! But we do want to see your lips and you want some color on your face so you don’t look washed out. It doesn’t need to be a lot, but bring out your best features.
If your face is oily or sweaty, a little face powder will take away any shine.
Hair - Make sure your hair is neatly combed. .Wear it how you normally would. Be presentable, clean and classy.
Jewelry - no flashy jewelry. Wear earrings that don’t move.
|
EYE CONTACT & EXPRESSION
Be visually expressive when you sing. I know this can be more difficult when you are singing BGVs, but it will be very important to make the part you are singing come to life for the audience, Raise your eyebrows and smile with your eyes. Animate your face in a manner that complements your part. If you have “doos” on a string of eighth notes, you can bob your head to the beat, bon’t get too crazy with movement. You don’t want to accidentally move out of frame. Determine where the lens is located on your phone, and sing directly into that spot as if the lens was your audience. |
|
Expression
If you have a solo, be sure you deliver it in a manner that is captivating. Let the lyrics be your guide. Your face should be a reflection of the emotion you are trying to convey.
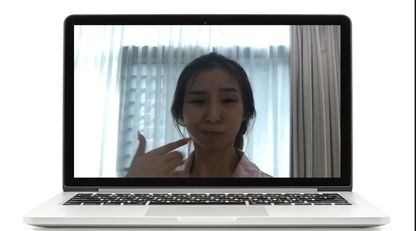
Keep your eyes directly on the camera. That will create a confident stage presence. Don’t avert your eyes from the camera. It can make you appear nervous. Smile, if appropriate, even if it is just with your eyes. Smiling creates a warm, relaxed expression and puts the viewer at ease. Avoid frowning. Watch this 5-second clip of former BA student, Ginna Claire Mason for an example of great eye contact and expression. |
|
TEST RUN
When you are ready to record, do a final test video of your yourself, and check the background, the camera angle, your audio, your appearance. Make sure you are set to record your video!
You will not record the entire song from start to finish in one take. We will break it into manageable sections. I will email you a "High Hopes" Guide track. Simply follow the prompts I give you on the track. Run through it several times before you record to be sure you know what to expect.
Watch our class zoom meeting if you missed today!
Recording Segments
After you have read through the Video Recording Guide, It is time to record your video.
1) One-Minute Check List - This is the last thing you will listen to once you are in place, ready to begin. Play this short clip, and I will prompt you to check key areas to be sure you are ready to record.
1) One-Minute Check List - This is the last thing you will listen to once you are in place, ready to begin. Play this short clip, and I will prompt you to check key areas to be sure you are ready to record.
2) "High Hopes" Video Guide Track - This is the guide track you should listen to while you are recording. Make sure you are using headphones to listen to this track. We do not want it to be heard in the room where you are recording.
|
SOPRANO 1 GUIDE
|
|
SOPRANO 2 GUIDE
|
|
ALTO GUIDE
|
We will record in small segments. Some of the segments will be repeated, and some will be out of order, but if you will record exactly as I instruct on the "High Hopes" Video Guide Track, you will record everything we need. I will prompt you each step of the way. Listen to this guide track, and practice it so you know what to expect when you are ready to record.
If you want to match the recording segments to the specific measure in the sheet music, I have provided that list below, but hopefully, you know this so well, you won't need it, but it may be handy to review correct lyrics.
Video #1 m. 1 - 2 - Ba-buppa ba ba...you will sing this twice.
Video #2 m. 7-8 - Ba da Ba-buppa ba ba....you will sing this twice.
Video #3 m. 9 -16 - Doo doo doo doot.
Video #4 m. 17 -20 - “Bms.”
Video #5 m. 21-28 - Ba-buppa ba ba
Video #6 m. 22- 36 - Ah (swell) Ooh - Don't ever change - Oh ...you will sing this twice.
Video #7 m. 40-44 - Bm Bm Bm Bm Ba - Oh - oh -oh - Ay ay ay! you will sing this twice.
Video #8 m. 45-48 - Lead in unison. you will sing this twice.
Video #9 m. 49-57 - you will sing this twice. Don't top recording and add the "High Hopes" in between.
Video #10 m. 53-end - "High High hopes for a living didn't know how but I always had a feeling. I was gonna be that one in a million always had high, high hopes.
Video #11 m. 56 - (optional) If you want to try for the tag at the end. sing the last bar "high, high hopes!"
UPLOAD LINK
When you are ready to submit your video recordings, Be sure to name them with your initials (JO1, JO2, JO3, etc.) You may email them to me a few at a time, or you may use this upload link to drop your videos in one place: https://www.dropbox.com/request/niFyFfMMBZpPjY8jnTK1
Trouble-Shooting
If you are having trouble, watch the video below that matches your recording set-up.
|
Record with a Built-in Mic on a Pair of Earbuds
|
Record with an external USB mic
|
Record without a Built-in Mic on a Pair of Earbuds
|